Saturday, August 13, 2005
Empire Turntable - Motor

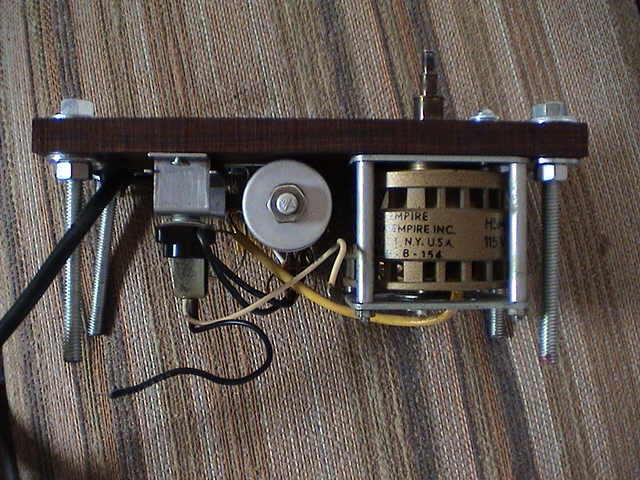
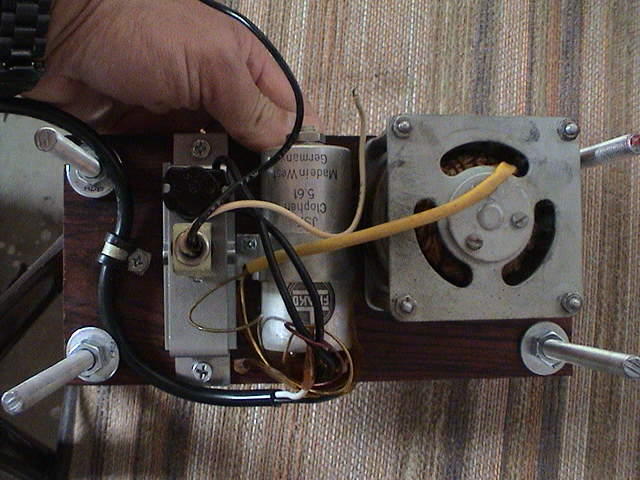
So, here is the motor and everything else, after I pulled it out of the table. I traced the wires, and drew a simple schematic for it.
I ended up changing the power cord, because it was so old, and had a very cheesy plug on it. I was going to put in a bigger motor run cap in it as well, but then I saw somewhere that the motor is designed for a certain capacitance, which is on the motor. And the motor says 4 uf, which is what Empire used. So, since it works, I just left the old cap in.
Now, I was trying to figure out how to mount the motor. I wanted to not have it part of the plinth, which is different from how it came. It was isolated on three rubber mounts, but it is connected to the top, with the rubber mounts, in the original table.
I had a piece of 1/2' thick cocobola I was going to use for the armboard, but ended up doing something else, so I just mounted the motor to this piece of wood. I drilled out a few holes to screw the motor in, and one big hole for the spindle. I used thread all for the 4 legs.
I ended up removing the top plate from the motor assembly, this is the plate that allows the motor to move, with a spring to adjust the tension. It is meant to maintain the right tension on the belt. I figured I could just move the motor farther away if the belt gets loose.
That's it for now. Here are some pics.
My biggest mistake for this is I was not carefull when I drilled the holes for the legs, and one leg is crooked :(.


# posted by Randytsuch's Blog page @ 10:47 PM 
![]()